My husband and I were running Christmas errands earlier this week. As we were parking at the Office Depot, I noticed the beautiful poppies in the parking lot. I just had to take a picture (or two) and happened to get lucky with these little guys. They were so intent on their job, they never even knew I was there!
Textures used were by Skeletal Mess.
The frame action was by Chain from her Deviant Art account.
The photo, again, was taken by me.
Tuesday, December 22, 2009
Monday, November 30, 2009
The Christmas Spirit
Suddenly, it seems as if I am infused with the Christmas spirit, and felt moved to experiment with masks in Photoshop. They work very differently from those in Paint Shop Pro. Not better or worse, just different. Here's an example of today's effort:
Although I do not know who created the mask, credit for the pattern goes to The Scrappin Cop for her brush entitled Patterned Grunge. Thank you, Deb!
Saturday, November 14, 2009
Growing Up
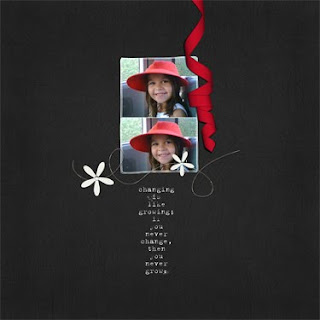
Simplement Scraps is today featuring Ange Design's latest kit, Growing Up, and has shared this beautiful QP as a freebie (available until Sunday, November 15, at midnight):

Here is mine:

Credits include: Ange Designs (QP), Gunhild Storeide (ribbon), and Simplement Scrap.
Download your own at Simplement Scrap: http://simplementscrap.free.fr/spip.php?article325
Thursday, November 12, 2009
A Creative Burst
I've been looking for an online digital design class all day and have had no luck meeting my criteria (excellent designs created by instructor being the most important).
So, I decided to make some paper. For some, the amount of time I spent making this one paper would have enabled them to complete a kit. Nonetheless, I am very happy with it, especially considering it is a "junior" effort!
So, I decided to make some paper. For some, the amount of time I spent making this one paper would have enabled them to complete a kit. Nonetheless, I am very happy with it, especially considering it is a "junior" effort!
Botanical Love
Credit and thanks to: Aqueous Sun texture; Texture1.psd (unknown author); Wetfish Designs Botanical Overlay
Tuesday, September 29, 2009
Misty Cato's Tutorials
Today, I followed a couple of Misty Cato's numerous tutorials on her blog. The lesson entitled, Photo Editing: Impact Portraits, was a real eye-opener. I started out with a photo that, although not technically great (and which certainly could use a lot of help in the composition department), I thought had pretty good color balance:
After a series of steps involving, among other things, copying the original picture various times and using different screen modes, we arrived at the finished product. The improvement in the picture (which I cropped, per her suggestion) and color balance is amazing to me!
After a series of steps involving, among other things, copying the original picture various times and using different screen modes, we arrived at the finished product. The improvement in the picture (which I cropped, per her suggestion) and color balance is amazing to me!
Check out Misty's website, her store, and her tutorials. The tutorials are clear and easy to follow. And her product is first-class.
Labels:
Photo Editing,
Photoshop,
Tutorial Links
Saturday, September 26, 2009
Curled Frames
Gunhild Storeide, one of the most generous designers out there, just posted a set of curled frames; and, as if that weren't wonderful enough in itself, she also posted the directions on how to make them! Head over to her site at: http://www.storeide.se/gunhild/index.htm and take a look at this and her other six pages of mostly CU elements. I told you she was generous!
Here's my frame:
Here's my frame:
Labels:
Curled Frames,
Photoshop,
Tutorial Links
Saturday, September 19, 2009
Project of the Day - Frame Resizing
Just finished a tutorial by Sara at After Five Designs for resizing rectangular frames to square ones. It was amazingly easy and I went on to bevel and texture the finished product, all in about 30 minutes!
I started out with a plain rectangular frame by Maria Designs (I've added a black bottom layer for better clarity):

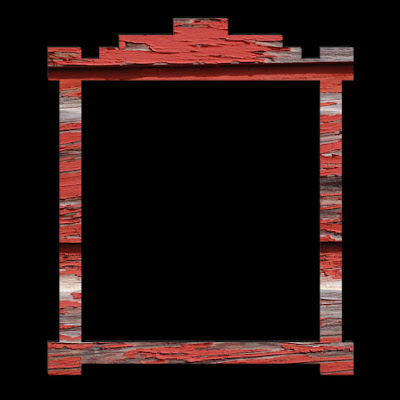
Following the (terrific) instructions Sara provided, I ended up with this, a rustic and realistic old wooden frame:

I started out with a plain rectangular frame by Maria Designs (I've added a black bottom layer for better clarity):

Following the (terrific) instructions Sara provided, I ended up with this, a rustic and realistic old wooden frame:

Wooden texture by AK for Pink Ink Studios
And that was it! Easy. Try it yourself!
Lori
Labels:
Frames,
Photoshop,
Resizing,
Tutorial Links
Subscribe to:
Comments (Atom)


